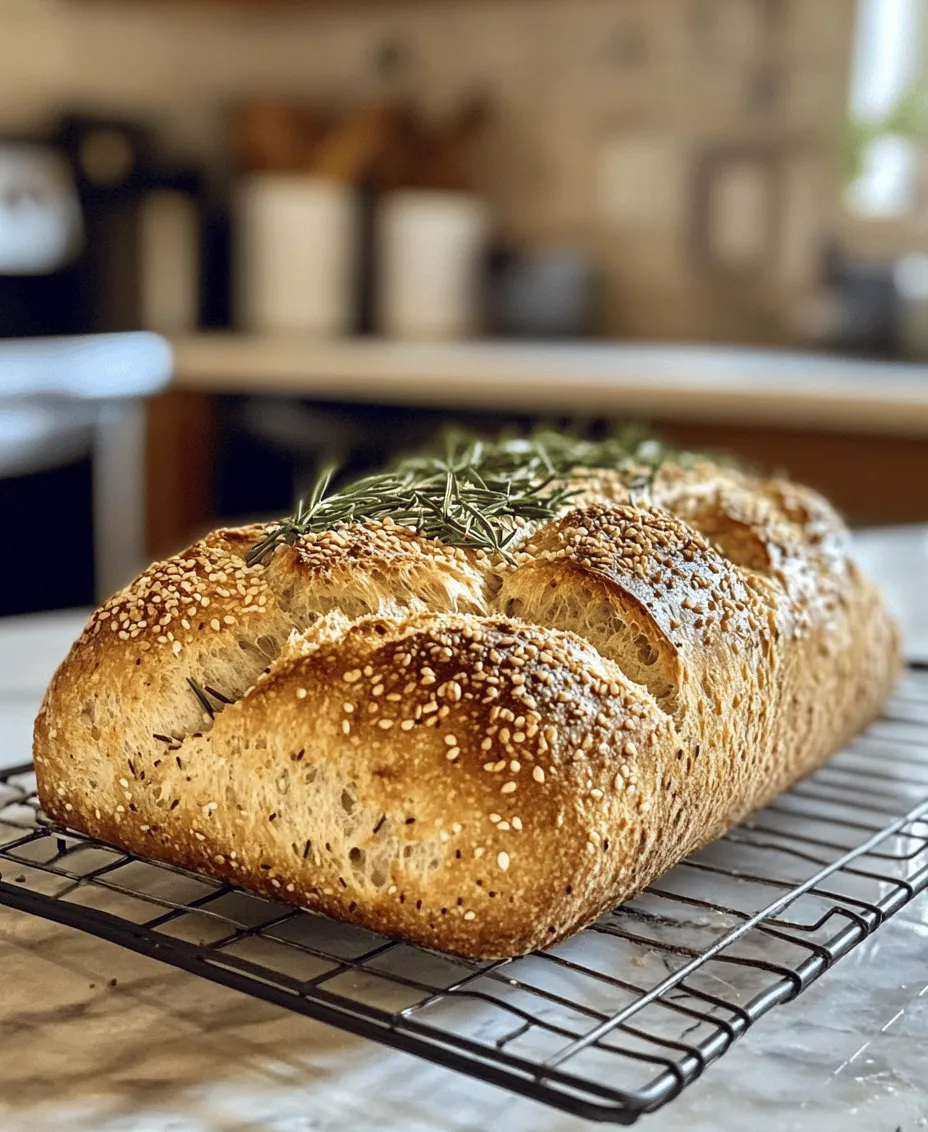
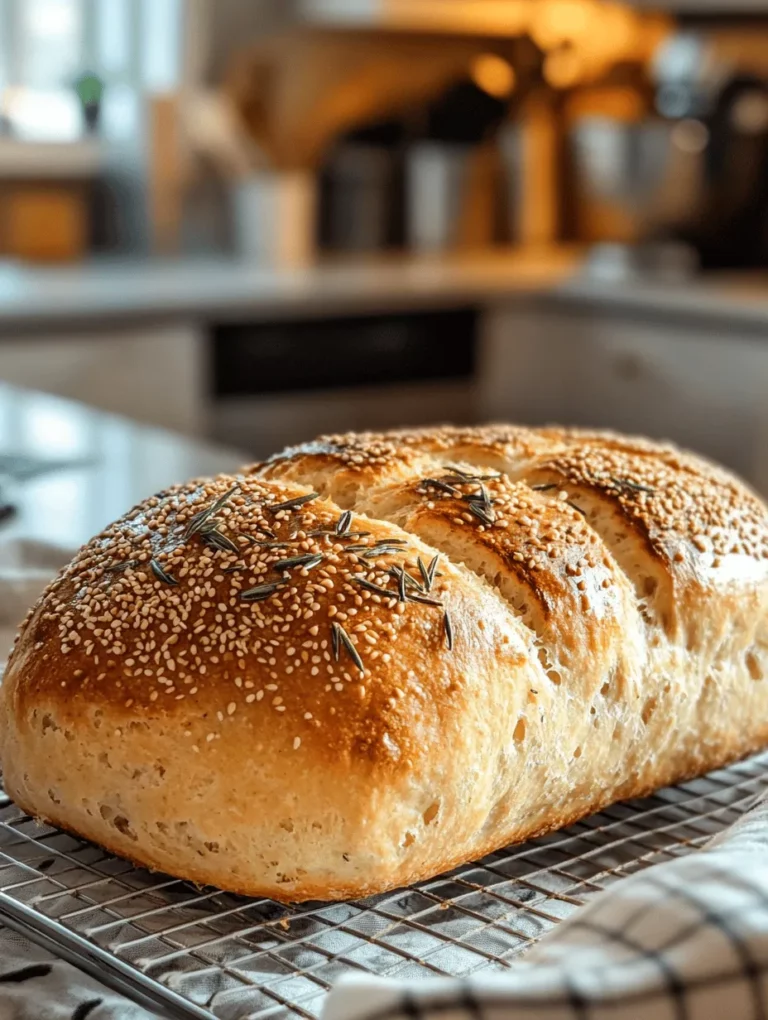
Introduction
Imagine the warm, comforting aroma of freshly baked bread wafting through your home, all without the need for a traditional oven. Welcome to the world of stovetop bread-making! Our No-Oven Bread recipe is a delightful and accessible option for anyone looking to create a perfect loaf in the comfort of their kitchen. Whether you are a novice baker or an experienced cook, this recipe simplifies the bread-making process, allowing you to enjoy a crusty exterior with a soft and fluffy interior.
Bread has been a staple in many cultures for centuries, serving as a symbol of comfort and nourishment. The art of bread-making is steeped in tradition, but it can often feel intimidating, especially for those without access to an oven. Thankfully, with our stovetop method, you can master the art of bread-making, impressing family and friends with your culinary prowess. So, roll up your sleeves, and let’s dive into the delightful world of stovetop bread-making!
Understanding the Basics of Bread Making
To truly appreciate the magic of making bread, it’s essential to understand the fundamental ingredients and their roles in the process.
The Importance of Ingredients in Bread
Every great loaf of bread starts with a few basic ingredients: flour, water, yeast, salt, and olive oil. Each component plays a crucial role in creating the final product. Here’s a quick overview:
– Flour: The backbone of any bread recipe, flour provides structure and texture. All-purpose flour is commonly used, but you can experiment with whole wheat or bread flour for different flavors and nutritional benefits.
– Water: Essential for hydrating the flour and activating the yeast, water also helps to create a soft and pliable dough. The temperature of the water is important, as it can affect yeast activation.
– Yeast: This tiny microorganism is responsible for fermentation, which produces carbon dioxide and causes the dough to rise. There are different types of yeast, including active dry yeast and instant yeast, each with its specific usage.
– Salt: Not only does salt enhance the flavor of the bread, but it also helps to strengthen the gluten structure and regulate yeast activity.
– Olive Oil: While optional, olive oil adds moisture and richness to the bread, contributing to a tender crumb.
The Science of Yeast Activation
Understanding yeast activation is key to successful bread-making. Yeast works through a process called fermentation, where it consumes sugars and produces carbon dioxide and alcohol. This process is what gives bread its airy texture and distinct flavor.
To activate the yeast, warm water (about 100°F to 110°F) is typically used. Adding a small amount of sugar during this step can help to jumpstart the yeast, as it serves as food for the microorganisms. After combining the warm water and sugar with the yeast, let it sit for about 5 to 10 minutes until it becomes frothy. This indicates that the yeast is active and ready to be mixed with the other ingredients.
Step-by-Step Guide to Stovetop No-Oven Bread
Now that we have a solid understanding of the basic ingredients and their roles, let’s get started with the step-by-step process of making stovetop no-oven bread.
Preparing Your Ingredients
Before diving into mixing and kneading, it’s essential to prepare your ingredients. This step not only streamlines the process but also ensures that you have everything you need at your fingertips.
1. Measuring Ingredients: Start by measuring out the following ingredients:
– 3 cups of all-purpose flour
– 1 cup of warm water (100°F to 110°F)
– 2 teaspoons of active dry yeast
– 1 teaspoon of salt
– 2 tablespoons of olive oil (optional)
– A pinch of sugar (for activating the yeast)
2. Optional Flavor Enhancements: To elevate your bread, consider adding herbs and seeds. Popular options include:
– Dried rosemary or thyme for an aromatic touch
– Sesame seeds or poppy seeds for added texture
– Garlic powder or onion powder for a savory flavor
Having all your ingredients prepared and pre-measured will make the mixing and kneading process much smoother and more enjoyable.
Mixing the Dough
With your ingredients ready, it’s time to mix the dough. Follow these detailed instructions to create a cohesive mixture:
1. In a large mixing bowl, combine the warm water, sugar, and yeast. Allow it to sit for 5 to 10 minutes until frothy.
2. Once the yeast is activated, add the olive oil (if using) and salt to the mixture. Stir gently to combine.
3. Gradually add the flour, one cup at a time, mixing with a wooden spoon or your hands until a shaggy dough forms.
4. If desired, incorporate any optional herbs or seeds at this stage. This is the perfect time to get creative with flavors!
5. After all the flour is added, the dough should pull away from the sides of the bowl but may still be slightly sticky.
Kneading Techniques
Kneading is a crucial step in bread-making that develops gluten and gives the dough its structure. Here’s how to knead effectively:
1. Turn the dough out onto a lightly floured surface.
2. With clean hands, fold the dough over itself and push it down with the heel of your hand.
3. Rotate the dough a quarter turn and repeat the folding and pushing motion.
4. Continue kneading for about 8 to 10 minutes until the dough is smooth and elastic.
5. To check if the dough is ready, perform the “windowpane test.” Take a small piece of dough and stretch it gently between your fingers. If it forms a thin, translucent membrane without tearing, you’ve achieved the right consistency.
The Rising Process
Once kneading is complete, it’s time for the dough to rise. This step is vital, as it allows the yeast to produce carbon dioxide, making the dough light and fluffy.
1. Place the kneaded dough into a lightly greased bowl, turning it to coat all sides with oil.
2. Cover the bowl with a clean kitchen towel or plastic wrap, creating a warm environment for the dough to rise.
3. Let the dough rise in a warm, draft-free area for about 1 to 1.5 hours, or until it has doubled in size.
4. For ideal rising conditions, consider placing the bowl in a slightly warmed oven (turned off) or near a sunny window.
As the dough rises, you can take a moment to prepare your stovetop for cooking. Ensure you have a heavy-bottomed pot or skillet ready, as this will be essential for achieving that perfect crust.
With the ingredients prepared, the dough mixed, kneaded, and rising, you are well on your way to creating a mouthwatering loaf of stovetop no-oven bread. In the next part of our article, we will explore the final shaping, cooking techniques, and tips for achieving the best results with your homemade bread. Stay tuned for the delicious conclusion!

Shaping and Flavoring the Bread
Shaping your bread is an essential step that not only affects its appearance but also its texture. Here are some techniques to help you shape your loaf perfectly:
Techniques for Shaping the Loaf
1. Pre-shaping: After kneading your dough, let it rest for about 10-15 minutes. This allows the gluten to relax, making it easier to shape. Lightly flour your work surface to prevent sticking.
2. Shaping the Dough: To shape, gently flatten the dough into a rectangle. Fold the top third down towards the center and the bottom third up over it, creating a letter-like fold. Then, roll the dough tightly away from you, pinching the seam to seal as you go. This technique creates surface tension, which is crucial for a well-structured loaf.
3. Final Shaping: Place the shaped loaf seam-side down on a lightly floured surface. Gently cup your hands around it, rotating it to create a round shape. For a more elongated loaf, shape it into an oval.
4. Proofing: Once shaped, cover the loaf with a clean towel and let it proof for another 30 minutes. This allows the bread to rise and develop flavor.
Customization Options with Herbs and Seeds
Adding herbs and seeds is a fantastic way to infuse your bread with unique flavors. Here are some popular options:
– Herbs: Incorporate dried or fresh herbs like rosemary, thyme, or oregano into your dough during the mixing process. About 1-2 tablespoons of dried herbs or a handful of fresh herbs will enhance the flavor significantly.
– Seeds: For a nutty flavor and added crunch, consider mixing in seeds such as sesame, poppy, or sunflower seeds. Sprinkle a tablespoon or two into the dough or on top of the loaf before cooking.
– Cheese: Adding shredded cheese, like cheddar or mozzarella, can create a delightful cheesy crust. Fold in about 1/2 cup just before shaping your dough.
Cooking on the Stovetop
Cooking bread on the stovetop requires some adjustments compared to baking in an oven. Understanding heat management is crucial for achieving the perfect loaf.
Importance of Low Heat in Cooking Bread
When cooking your bread on the stovetop, maintaining a low, even heat is vital. High heat can cause the outside to burn while leaving the inside doughy. A medium-low setting is generally the best choice. If your stovetop has multiple burners, you may choose to use a double boiler or a heavy-bottomed pot to distribute heat evenly.
Tips for Checking Doneness Without Burning
1. The Skewer Test: Insert a skewer or toothpick into the center of the loaf. If it comes out clean, the bread is done. If not, continue cooking and check every few minutes.
2. Tap Test: Gently tap the bottom of the loaf with your fingers. A hollow sound indicates that the bread is cooked through.
3. Visual Cues: Look for a golden-brown crust. The loaf should be firm to the touch and slightly spring back when pressed.
4. Timing: On average, stovetop bread takes about 30-40 minutes to cook. However, this can vary based on your stovetop and pot, so keep a close eye on it.
Serving Suggestions for No-Oven Bread
The versatility of your stovetop no-oven bread makes it a delightful addition to various meals. Here are some pairing ideas to enhance your dining experience.
Pairing Ideas for Your Fresh Bread
– Spreads: Freshly baked bread pairs beautifully with a variety of spreads. Classic butter, either salted or unsalted, enhances the bread’s flavor. For a Mediterranean twist, drizzle with high-quality olive oil and sprinkle with sea salt. You can also create compound butter by mixing softened butter with herbs, garlic, or spices.
– Dipping Oils: Create a simple dipping oil by mixing olive oil, balsamic vinegar, and some fresh herbs. Serve this alongside your sliced bread for an elegant appetizer.
– Cheese and Charcuterie: Your bread can serve as a fantastic base for a cheese and charcuterie board. Pair it with a selection of cheeses, cured meats, nuts, and fruits for a delicious spread.
– Soups and Stews: Fresh bread is perfect for soaking up the flavors of hearty soups and stews. Serve slices alongside your favorite vegetable or meat-based soup for a comforting meal.
Creative Uses for Leftover Bread
If you find yourself with leftover bread, don’t worry! There are many creative ways to use it.
1. Bread Pudding: Transform stale bread into a delicious bread pudding by combining it with eggs, milk, sugar, and vanilla. Bake until golden and set for a comforting dessert.
2. Croutons: Cut stale bread into cubes, toss with olive oil, and season with herbs and spices. Bake in a preheated oven at 375°F (190°C) until crispy for homemade croutons that can elevate salads and soups.
3. Toasting: Slices of leftover bread can be toasted and topped with avocado, spreads, or even used for sandwiches. A quick broil in the oven can revive the bread’s texture and flavor.
Health Benefits of Homemade Bread
Baking bread at home not only allows for creativity in the kitchen but also offers several health benefits compared to store-bought options.
Nutritional Advantages of Making Bread at Home
1. Control Over Ingredients: When you bake your own bread, you have complete control over what goes into it. You can opt for whole grain flours, organic ingredients, and avoid preservatives or additives often found in store-bought bread.
2. Customization for Dietary Needs: Homemade bread can be tailored to specific dietary needs. Whether you require gluten-free, low-carb, or low-sodium options, you can adjust the recipe to suit your preferences.
3. Freshness and Flavor: There’s nothing quite like the smell of freshly baked bread. By baking at home, you ensure your bread is fresh, flavorful, and free from artificial preservatives.
4. Cost-Effective: Making bread at home can often be more economical than purchasing artisanal loaves from bakeries, especially if you bake regularly.
Comparison with Store-Bought Bread
Homemade bread generally contains fewer ingredients than commercial varieties, which may include additives and preservatives to enhance shelf life. Store-bought bread often uses refined flours, whereas homemade options can incorporate whole grains, leading to better nutritional profiles and higher fiber content.
The Joy of Baking at Home
Beyond the nutritional benefits, baking at home provides emotional and psychological rewards.
Emotional and Psychological Benefits of Baking
1. Therapeutic Process: The act of kneading dough can be meditative and therapeutic. Many people find comfort in the rhythmic process of baking, which can help reduce stress and anxiety.
2. Creativity: Baking allows for creativity in the kitchen. Experimenting with flavors, shapes, and textures can be a rewarding experience.
3. Creating Memories: Baking bread can become a cherished family tradition. Whether you’re teaching children how to bake or creating new recipes with loved ones, these moments foster connections and create lasting memories.
Creating Memories and Sharing with Family
Baking can bring families together, creating opportunities to bond and share experiences. From kneading dough to enjoying freshly baked bread around the table, these moments can strengthen relationships and create a sense of community.
Conclusion
This stovetop No-Oven Bread recipe is a fantastic way to enjoy freshly baked bread without the need for an oven. With simple ingredients and straightforward instructions, you can create a delicious loaf that brings warmth and comfort to your table. Whether enjoyed fresh with spreads or used in creative recipes, this bread is sure to become a staple in your home baking routine. Embrace the joy of baking, savor the flavors of your creations, and enjoy the numerous benefits of homemade bread that elevate your culinary experience and nourish your soul.

