Introduction
There’s a unique joy that comes from crafting homemade treats, a feeling that invites nostalgia and satisfaction as the delightful aromas fill your kitchen. Among the myriad of sweet delights, the Butterfinger Bliss Bites stand out as a particularly indulgent and easy-to-make option that satisfies both young and mature palates alike. These little morsels pack a punch of flavor, combining the iconic crunch of Butterfinger candy bars with the creamy richness of peanut butter. With their sweet, crunchy, and smooth textures, Butterfinger Bliss Bites provide a perfect bite-sized treat that can elevate any snack time or dessert platter.
What makes these bliss bites even more appealing is their simplicity. You don’t need to be a seasoned baker or have hours to spend in the kitchen to whip up a batch. With just a handful of ingredients and minimal preparation time, you can create a decadent treat that will impress friends and family. Whether you’re preparing for a special occasion or simply looking to satisfy your sweet tooth, Butterfinger Bliss Bites are a delightful solution that comes together quickly and easily.
Understanding the Ingredients
The magic of Butterfinger Bliss Bites lies in the harmony of its ingredients, each contributing to the overall flavor profile and texture of the final confection. Here’s a closer look at the main components that make these treats so irresistible:
Crushed Butterfinger Candy Bars
At the heart of this recipe are the crushed Butterfinger candy bars. Known for their unique combination of crunchy peanut butter center encased in a layer of chocolate, Butterfingers add a sweet and crunchy element to the bliss bites. The texture of the crushed candy provides a satisfying crunch, creating a delightful contrast against the creaminess of the peanut butter. The sweetness of the Butterfinger also enhances the overall flavor, making every bite a nostalgic treat that many will recognize and love.
Creamy Peanut Butter
Next up is creamy peanut butter, which lends a rich and smooth texture to the mix. Peanut butter is a beloved staple in many desserts, and for good reason; its creamy consistency complements the crunchy candy bars beautifully. Beyond texture, the flavor of peanut butter is distinctively nutty and slightly salty, which balances the sweetness of the candy bars and powdered sugar. This ingredient is essential for binding the mixture together, ensuring that your bliss bites hold their shape after chilling.
Powdered Sugar
Powdered sugar plays a dual role in Butterfinger Bliss Bites. Not only does it add sweetness, but it also acts as a binding agent that helps to achieve the perfect consistency in the mixture. Unlike granulated sugar, powdered sugar dissolves quickly and easily, allowing for a smooth blend with the peanut butter and crushed candy. This ensures that your bliss bites maintain a lovely texture—soft yet firm enough to hold together when shaped into balls.
Milk Chocolate Chips
To elevate the treat further, milk chocolate chips are used for coating the bliss bites. The rich, creamy chocolate adds a decadent finish to each bite, enveloping the peanut butter and Butterfinger mixture in a luscious layer. The sweetness of the milk chocolate complements the other flavors beautifully, providing a satisfying and indulgent experience that is hard to resist.
Coconut Oil (Optional)
While not a mandatory ingredient, coconut oil can be added to the melting chocolate to achieve a smoother consistency. This optional step ensures that the chocolate coats the bliss bites evenly and helps prevent it from hardening too quickly. Coconut oil also imparts a subtle tropical flavor that can enhance the overall taste of the dessert, making it an interesting twist on a classic treat.
Garnish Options
Finally, consider garnishing your Butterfinger Bliss Bites for an added touch of texture and flavor. Chopped nuts, additional crushed Butterfinger, or sprinkles can elevate the presentation and offer a delightful crunch or burst of flavor in each bite. These garnishes not only enhance the visual appeal but also allow for customization based on your personal preferences.
Step-by-Step Instructions for Butterfinger Bliss Bites
Creating your own Butterfinger Bliss Bites is a straightforward process that involves just a few essential steps. Follow this detailed breakdown to ensure you achieve the best results:
Preparing the Mixture: Achieving the Right Consistency
Begin by gathering all your ingredients. In a large mixing bowl, combine the crushed Butterfinger candy bars and creamy peanut butter. Using a spatula or a mixing spoon, blend the two together until they are fully incorporated. The goal here is to achieve a uniform mixture that is easy to shape. If the mixture appears too dry, feel free to add a bit more peanut butter to ensure it holds together well.
Adding Sugar: Importance of Gradual Incorporation for Texture
Once your Butterfinger and peanut butter are well combined, it’s time to add the powdered sugar. It’s important to incorporate the sugar gradually. Start by adding half a cup and mixing it in thoroughly before adding more. This will help you gauge the consistency of the mixture. You want it to be sticky enough to hold together when shaped but not so sticky that it clings excessively to your hands. If the mixture is too crumbly, add a little more peanut butter; if it’s too sticky, add a touch more powdered sugar.
Shaping the Balls: Proper Size and Handling Tips
After achieving the right consistency, it’s time to shape the mixture into balls. Using your hands, scoop out a tablespoon of the mixture and roll it into a ball, about one inch in diameter. It’s helpful to lightly grease your hands with a small amount of coconut oil or cooking spray to prevent the mixture from sticking to your fingers. Continue shaping the rest of the mixture into balls, placing them on a parchment-lined baking sheet as you go.
Chilling the Mixture: Why Chilling is Crucial for Firmness
Once all the balls are shaped, place the baking sheet in the refrigerator and chill for at least 30 minutes. Chilling is a crucial step as it helps the bliss bites firm up, making them easier to handle when it’s time to coat them in chocolate. This also allows the flavors to meld together, enhancing the overall taste of the bites.
Melting the Chocolate: Techniques for Achieving a Smooth Melt
While your bliss bites are chilling, it’s time to prepare the chocolate coating. In a microwave-safe bowl, add the milk chocolate chips (and coconut oil, if using). Heat the chocolate in the microwave in 30-second intervals, stirring in between, until it is fully melted and smooth. Be careful not to overheat the chocolate, as it can become grainy and unusable. Alternatively, you can melt the chocolate using a double boiler method for more control over the temperature.
With the chocolate melted and your bliss bites chilled, you’re now ready to coat them and take your Butterfinger Bliss Bites to the next level! The combination of rich chocolate and the sweet, crunchy filling is sure to create a treat that’s simply irresistible. Enjoy the process, and stay tuned for the final steps in this delightful recipe!

Coating the Balls: Tips for an Even Chocolate Coating
Once you’ve rolled your Butterfinger Bliss Bites into perfect little balls, it’s time to coat them in chocolate. This step is crucial not only for taste but also for aesthetics. Here’s how to achieve an even chocolate coating that will make your treats shine:
1. Choose the Right Chocolate: For coating, semi-sweet or milk chocolate works best, but you can also use dark chocolate for a richer flavor. Melting chocolate with a touch of coconut oil can help create a smoother consistency that glides over your bites.
2. Melt the Chocolate Properly: Use a double boiler or a microwave in short bursts to melt the chocolate. If using the microwave, heat in 30-second intervals, stirring in between to prevent burning.
3. Cool Down the Bites: Before coating, allow your Butterfinger Bliss Bites to chill in the refrigerator for about 10-15 minutes. This helps the chocolate adhere better.
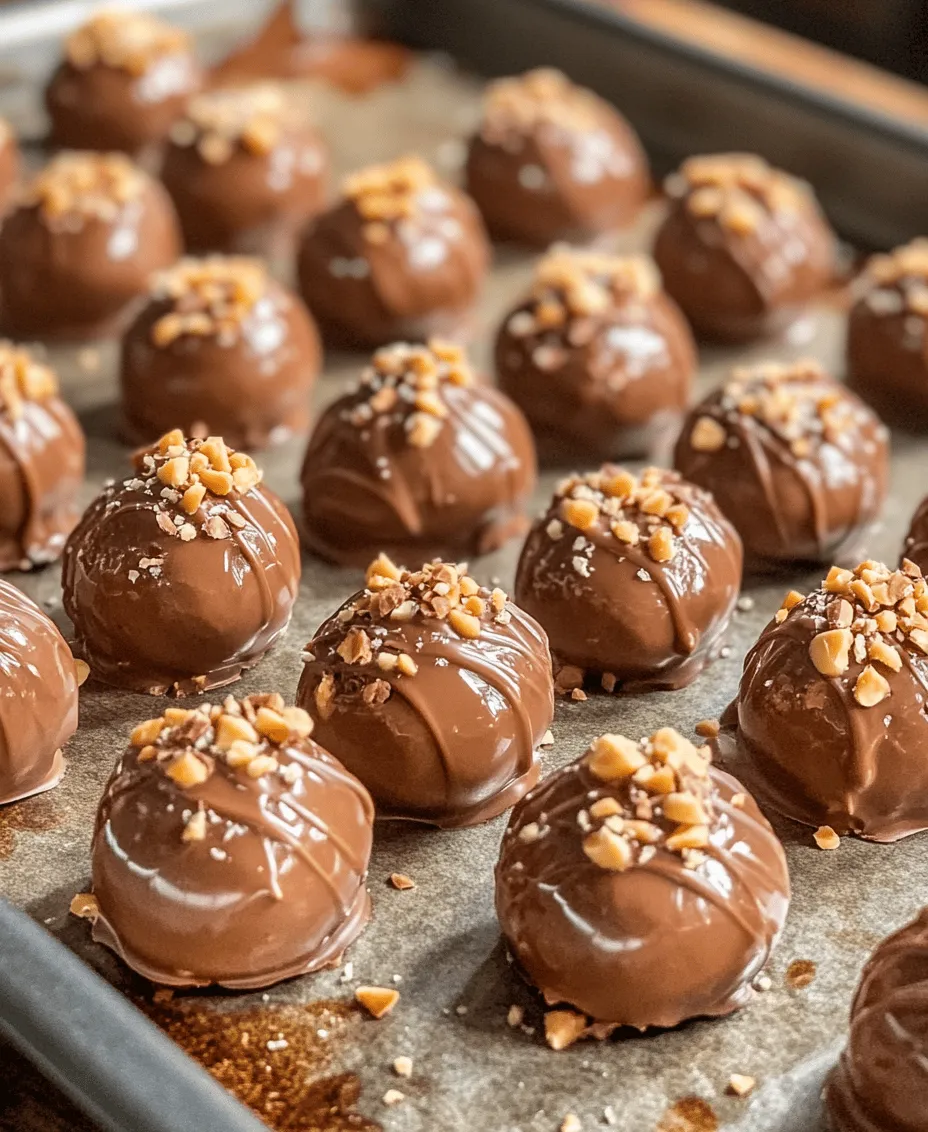
4. Dipping Technique: Using a fork or a toothpick, dip each ball into the melted chocolate. Allow the excess chocolate to drip off before placing them back on a parchment-lined baking sheet. This technique minimizes messy coatings and ensures a neat finish.
5. Work Quickly: Chocolate sets quickly, so try to coat all the balls efficiently. If the chocolate begins to harden, gently reheat it to keep it fluid.
Garnishing: Enhancing Appearance and Flavor
To elevate the visual appeal and taste of your Butterfinger Bliss Bites, consider garnishing them after the chocolate coating has set. Here are some ideas:
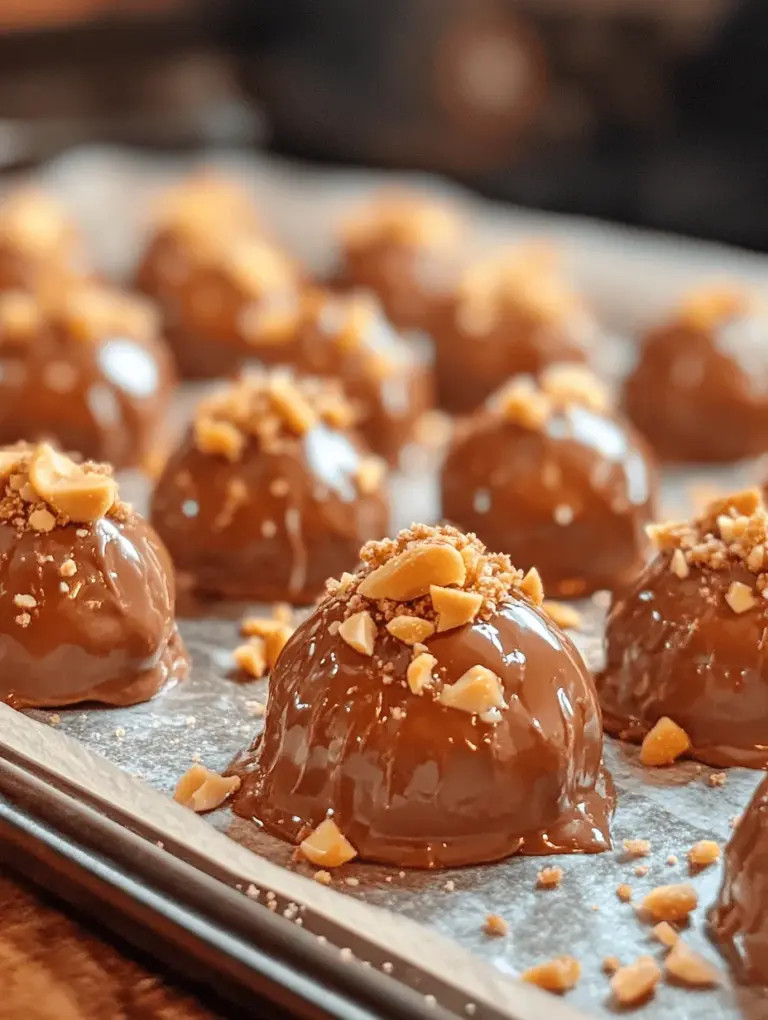
– Crushed Butterfinger Candy: Sprinkle finely crushed Butterfinger candy over the chocolate coating while it’s still wet. This adds a delightful crunch and reinforces the flavor profile.
– Drizzle: Use a contrasting chocolate (like white chocolate) to drizzle over the coated bites. This not only adds aesthetic appeal but also a fun flavor combination.
– Sea Salt: A light sprinkle of flaky sea salt can enhance the sweetness of the chocolate and provide a sophisticated flavor balance.
– Chopped Nuts: For an added crunch, chopped peanuts or almonds can be sprinkled on top. This not only adds texture but also complements the peanut butter flavor.
Final Chilling: Setting the Chocolate for the Perfect Bite
After garnishing, it’s essential to let the Butterfinger Bliss Bites chill once again. Place them back in the refrigerator for at least 30 minutes to allow the chocolate to set completely. This final chilling step ensures that when you bite into these treats, the chocolate coating is firm, providing a satisfying snap before revealing the creamy, peanut buttery interior.
Nutritional Information and Serving Suggestions
Understanding the nutritional value of your Butterfinger Bliss Bites can help you enjoy them guilt-free. Here’s a breakdown of the approximate nutritional information per serving (assuming 1 bite):
– Calories: 120
– Total Fat: 7g
– Saturated Fat: 3g
– Cholesterol: 5mg
– Sodium: 35mg
– Total Carbohydrates: 15g
– Dietary Fiber: 1g
– Sugars: 9g
– Protein: 2g
Dietary Considerations
These Butterfinger Bliss Bites can be easily adapted to meet various dietary needs:
– Gluten-Free: Ensure all ingredients, especially the peanut butter and chocolate, are certified gluten-free.
– Vegetarian: This recipe is inherently vegetarian, making it suitable for those who avoid meat.
Serving Ideas for Different Occasions
– Parties and Gatherings: These bites make an impressive addition to dessert tables. Arrange them on a decorative platter, adding a few fresh fruits for color and contrast.
– Treats for Kids: Perfectly sized for little hands, Butterfinger Bliss Bites can be a fun snack for kids. Pack them in lunch boxes or offer them as a reward for good behavior.
– Snack Options for Movie Nights: These bites can easily serve as a sweet treat during family movie nights. Pair them with popcorn for a delightful mix of sweet and salty.
The Joy of Homemade Treats
Creating homemade treats like Butterfinger Bliss Bites brings joy beyond just the act of cooking. Here are some emotional and social benefits associated with making these delicious snacks:
1. Quality Time: Making treats at home allows you to spend quality time with family and friends. Invite loved ones to help with the process, transforming it into a fun and collaborative activity.
2. Customization: One of the greatest joys of making treats at home is the ability to customize. Feel free to experiment with different types of chocolate, add spices like cinnamon, or substitute the peanut butter with almond or cashew butter for a twist.
3. Sharing is Caring: Homemade treats are perfect for sharing. Bringing a batch to work, gifting them to neighbors, or serving them at gatherings fosters connection and builds community.
4. Healthier Alternatives: Homemade treats often allow for healthier ingredient choices compared to store-bought options, which frequently contain preservatives and artificial flavors. You can control the ingredients, ensuring they align with your dietary preferences.
Storage and Shelf Life
To maintain freshness and flavor, proper storage of your Butterfinger Bliss Bites is essential. Here are some best practices:
– Airtight Container: Store the bites in an airtight container at room temperature for up to a week. If you live in a warm climate, it may be best to keep them in the refrigerator to prevent the chocolate from melting.
– Freezing Options: To extend their shelf life, Butterfinger Bliss Bites can be frozen. Place them in a single layer on a baking sheet until solid, then transfer them to a freezer-safe container. Properly stored, they can last for up to three months in the freezer.
– Thawing: When you’re ready to enjoy frozen bites, simply transfer them to the refrigerator for a few hours to thaw. Avoid microwaving them to maintain the integrity of the chocolate coating.
Conclusion
Creating Butterfinger Bliss Bites is not just about indulging in a delicious treat; it’s about the joy of making something special from simple ingredients. The process of mixing, rolling, and coating these bites allows for creativity and personalization, making it a rewarding experience.
As you share these delightful snacks with family and friends, you’ll find that the act of giving and enjoying homemade treats fosters connections and builds lasting memories. So gather your ingredients, invite some loved ones to join you in the kitchen, and relish the satisfaction of creating something extraordinary—because simple ingredients can lead to extraordinary flavors that everyone will love.

