Introduction
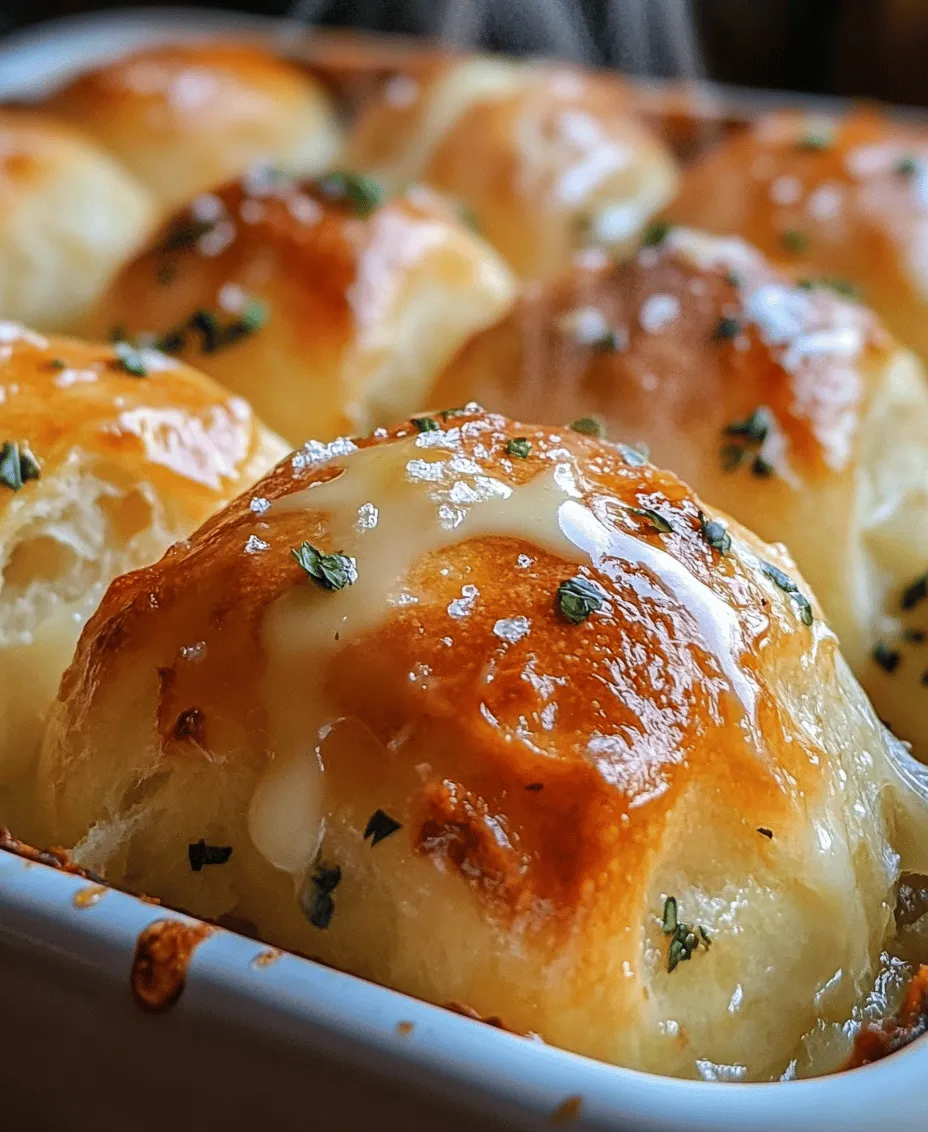
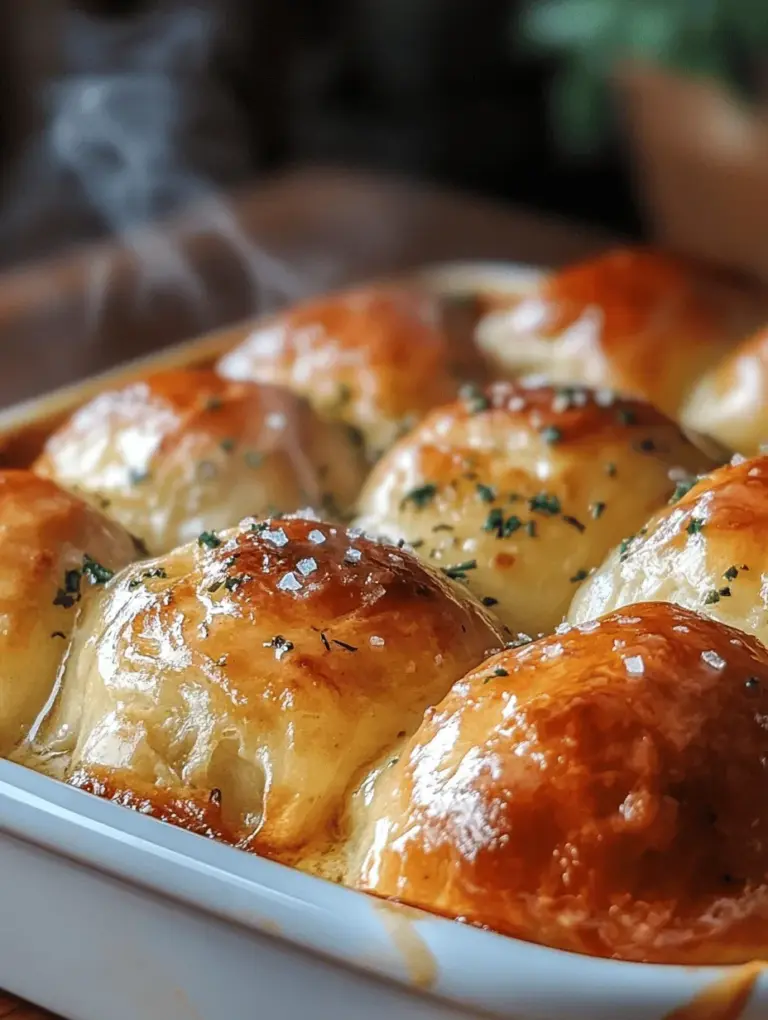
Dinner rolls have long been a cherished staple in various cuisines, gracing tables from casual family dinners to grand holiday feasts. Their soft, fluffy texture and buttery flavor make them the perfect accompaniment to a wide range of dishes, from savory main courses to rich soups. The experience of breaking open a warm dinner roll, with steam wafting gently from its tender interior, is one that evokes comfort and nostalgia. Whether served at a bustling Thanksgiving gathering or a simple weeknight meal, these rolls elevate any dining experience.
Soft and buttery dinner rolls are renowned for their melt-in-your-mouth quality. The combination of tender dough and rich butter creates a flavor profile that is both comforting and indulgent. In this comprehensive guide, we aim to demystify the art of making these delightful rolls at home. From understanding the ingredients to mastering the step-by-step process, you’ll be equipped with everything you need to create perfect dinner rolls that will impress family and friends alike.
Understanding the Basics of Dinner Rolls
What Are Dinner Rolls?
Dinner rolls are small, often round loaves of bread typically served alongside a meal. They can be found in various forms and flavors across cultures, from the soft, buttery rolls of American cuisine to the slightly sweeter, pillowy bao buns in Asian cooking. These rolls serve not only as an accompaniment but also as a vehicle for savoring sauces, gravies, and spreads. Their cultural significance is profound, symbolizing hospitality and gathering, as they are often shared among family and friends.
The Science Behind Bread-Making
At the heart of every great dinner roll is the science of bread-making, which involves a precise interplay of ingredients and techniques. Yeast, a living organism, plays a pivotal role in this process. When activated, yeast consumes sugars in the dough and produces carbon dioxide, which causes the dough to rise. This fermentation process not only contributes to the rolls’ airy texture but also develops complex flavors.
Dough consistency is equally vital. A well-kneaded dough achieves the ideal balance between elasticity and extensibility, allowing it to hold the gas produced by the yeast while still being soft enough to yield a tender roll. For the best results, understanding how to gauge dough consistency and the signs of proper fermentation is crucial.
The Importance of Fresh Ingredients
Using fresh ingredients significantly impacts the flavor and texture of your dinner rolls. Fresh flour, active yeast, and high-quality dairy products all contribute to the overall success of the recipe. Fresh all-purpose flour provides the necessary gluten structure, while fresh yeast ensures a robust rise. The flavor of whole milk and butter is also enhanced when they are fresh, resulting in richer, more delicious rolls.
Ingredients Breakdown
Before diving into the step-by-step instructions, let’s break down the essential ingredients you’ll need to craft these exquisite dinner rolls:
All-Purpose Flour
All-purpose flour is the foundation of your dinner rolls. It contains a moderate amount of protein, which is essential for gluten formation. Gluten gives bread its structure and chewiness, so using the right flour is key to achieving the perfect texture in your rolls.
Instant Yeast
For this recipe, we recommend using instant yeast rather than active dry yeast. Instant yeast has smaller granules and does not require proofing in warm water, which streamlines the preparation process. It also tends to produce a more consistent rise, ensuring your dinner rolls are fluffy and light.
Granulated Sugar
Granulated sugar serves multiple purposes in this recipe. Not only does it sweeten the dough slightly, but it also acts as food for the yeast, promoting fermentation and helping the rolls rise. The sugar also contributes to the browning of the crust during baking, adding visual appeal.
Whole Milk
Whole milk adds richness and moisture to the dough, contributing to its tender texture. The temperature of the milk is crucial; it should be warm (between 100°F and 110°F) to activate the yeast effectively without killing it. Warm milk also helps to create a softer crumb in the finished rolls.
Unsalted Butter
Unsalted butter is preferred in this recipe because it allows for better control over the seasoning of the rolls. Butter enriches the dough, lending a delightful flavor and a tender texture. When melted and incorporated into the dough, it creates a luxurious mouthfeel that is characteristic of soft and buttery dinner rolls.
Eggs
Eggs play a vital role in adding richness and moisture to the dough. They also enhance the structure of the rolls, providing stability during baking. The proteins in eggs help achieve a tender crumb while contributing to the rolls’ beautiful golden color.
Optional Ingredients
For those looking to elevate their dinner rolls further, optional ingredients such as garlic powder and fresh herbs can be added to the dough. These ingredients provide additional flavor complexity, making your rolls not only soft and buttery but also aromatic and enticing.
Step-by-Step Instructions for Soft and Buttery Dinner Rolls
Activating the Yeast
The first step in making your soft and buttery dinner rolls is to activate the yeast. This process is essential to ensure that your yeast is alive and ready to help your dough rise.
1. Warm the Milk: Begin by warming your whole milk. You can do this in a microwave or on the stovetop, but be careful not to let it get too hot—aim for a temperature between 100°F and 110°F. This warmth is crucial for the yeast activation process.
2. Combine Yeast and Sugar: In a mixing bowl, combine your instant yeast and a teaspoon of granulated sugar. The sugar acts as food for the yeast, promoting rapid activation.
3. Add Warm Milk: Pour the warm milk into the bowl with the yeast and sugar mixture. Stir gently to combine, then let it sit for about 5-10 minutes. You should see bubbles forming on the surface, indicating that the yeast is active.
Mixing Dry Ingredients
Once your yeast is activated, it’s time to prepare the dry ingredients. This step ensures that your rolls will have a uniform texture without any clumping.
1. Combine Flour and Salt: In a separate bowl, combine your all-purpose flour and salt. Mixing these dry ingredients ahead of time helps distribute the salt evenly throughout the dough, ensuring that it doesn’t inhibit the yeast’s performance.
2. Sift for Smoothness: If desired, you can sift the flour and salt together to eliminate any lumps. This step is particularly helpful if you’re using flour that has been stored for a while.
Combining Wet Ingredients
With your dry ingredients ready, it’s time to mix in the wet components. This step is crucial for achieving a smooth, homogeneous dough.
1. Melt the Butter: In a microwave-safe bowl, melt your unsalted butter until it’s fully liquefied. Allow it to cool slightly before adding it to the mixture, as adding hot butter can curdle the milk.
2. Whisk in Eggs: In a mixing bowl, whisk together the melted butter, warm milk with activated yeast, and the eggs until well combined. Ensure that the mixture is smooth and uniform, which will help prevent any curdling as the ingredients come together.
3. Combine Wet and Dry Ingredients: Gradually pour the wet ingredient mixture into the bowl with the dry ingredients. Use a wooden spoon or a spatula to mix until a shaggy dough forms. At this stage, the dough will be sticky and may seem a bit rough, but that’s perfectly normal.
By following these initial steps, you set a strong foundation for your soft and buttery dinner rolls. The process of activating the yeast, combining ingredients, and preparing the dough is crucial for creating rolls that are not only delicious but also beautifully fluffy. In the next section, we will delve deeper into the kneading process, fermentation, and baking techniques that will ensure your dinner rolls turn out perfectly every time.

Making the Dough
To begin the process of creating soft and buttery dinner rolls, the first step is making the dough. In a large mixing bowl, combine warm milk, sugar, and yeast. Allow it to sit for about 5-10 minutes until it becomes frothy. This froth indicates that the yeast is active and ready to help the dough rise.
Next, add melted butter, eggs, and salt to the yeast mixture. Gradually incorporate all-purpose flour, starting with about three cups, and mix until a rough dough forms. As you mix, it’s important to pay attention to the consistency. If the dough appears too sticky and clings to your fingers, you can adjust by adding small amounts of flour, one tablespoon at a time, until it reaches a manageable consistency. The goal is to create a soft dough that is slightly tacky but not overly sticky.
Kneading the Dough
Kneading is a crucial step for developing gluten, which gives the dough its structure and elasticity. Transfer the dough to a lightly floured surface and begin kneading by pushing the dough away from you with the palms of your hands, folding it back towards you, and turning it a quarter turn. Repeat this process for about 8-10 minutes until the dough is smooth and elastic.
Signs that the dough is ready include a soft and pliable texture and the ability to stretch without tearing. You can also perform the “windowpane test” by taking a small piece of dough and stretching it gently. If it stretches thinly without breaking, the gluten is well-developed, and your dough is ready for the next step.
First Rise
Once kneading is complete, it’s time for the first rise. Shape the dough into a ball and place it in a greased bowl, turning it to coat all sides with oil. Cover the bowl with a clean kitchen towel or plastic wrap to keep the dough moist and warm. Ideal conditions for rising include a warm, draft-free area. Let the dough rise for about 1-2 hours or until it has doubled in size. This fermentation process is vital, as it allows the yeast to produce carbon dioxide, which gives the dough its airy structure.
Shaping the Rolls
After the first rise, punch down the dough gently to release excess air. Transfer it to a lightly floured surface and divide it into equal portions. For uniformity, you can use a kitchen scale to weigh each piece, aiming for about 2-3 ounces each.
To shape the rolls, take each piece of dough and fold the edges towards the center, creating a smooth top. Then, flip it over and roll it gently in your hands to form a ball. Place the shaped rolls seam-side down in a greased baking dish, ensuring they are close but not touching, as they will rise again.
Second Rise
The second rise is just as important as the first. Cover the rolls again with a towel and allow them to rise for another 30-45 minutes. This step enhances the texture and fluffiness of the rolls, making them even softer and more delightful to eat.
Preheating the Oven
As the rolls are rising, preheat your oven to 375°F (190°C). Proper oven preparation is crucial for achieving the perfect bake. This means ensuring that the oven is fully heated before placing the rolls inside, which helps them rise quickly and bake evenly.
Baking the Rolls
Once the rolls have completed their second rise, it’s time to bake them. Place the rolls in the preheated oven and bake for 15-20 minutes, or until they are golden brown on top. Indicators for doneness include a slight golden color and a hollow sound when tapped on the bottom. It’s essential not to overbake, as this can lead to dry rolls.
Finishing Touches
To enhance the flavor of your dinner rolls, brush them with melted butter immediately after removing them from the oven. This not only adds richness but also provides a beautiful sheen. For an extra touch of flavor, sprinkle a pinch of sea salt on top while the rolls are still warm. This contrast of buttery richness and a hint of salt elevates the overall taste.
Serving Suggestions
These soft and buttery dinner rolls are versatile and can complement a variety of meals. They pair wonderfully with soups, stews, and salads, making them an excellent addition to any dinner table. Consider serving them alongside a rich beef stew or a light salad for a balanced meal.
If you find yourself with leftover rolls, there are countless creative ways to repurpose them. Transform them into delightful sliders by filling them with pulled pork, ham, or roasted vegetables. Alternatively, use stale rolls to make a comforting bread pudding or a savory stuffing, ensuring none of that delicious bread goes to waste.
Nutritional Information
Each roll contains approximately 150 calories, with a macronutrient breakdown of 5g of protein, 3g of fat, and 27g of carbohydrates. For those with dietary restrictions, consider using gluten-free flour blends to create a gluten-free version of these rolls. Additionally, substitute dairy milk and butter with plant-based alternatives for a dairy-free option, allowing everyone to enjoy these delightful rolls.
Conclusion
There’s a unique joy that comes from making and sharing homemade dinner rolls. The process, from mixing the ingredients to watching the rolls rise and finally pulling them out of the oven, is both satisfying and rewarding. As you gather around the table with family and friends, serving warm, fresh rolls enhances the experience of any meal.
We encourage you to try this recipe and enjoy the process of baking. Whether you’re a seasoned baker or just starting your culinary journey, these soft and buttery dinner rolls are sure to impress. The aroma of freshly baked rolls filling your kitchen is an experience that truly brings people together, showcasing the love and effort put into creating something special from scratch. Enjoy every bite!

