Introduction
In the world of homemade snacks, few things can match the allure and satisfaction of freshly baked treats. Whether you’re hosting a gathering, enjoying a family meal, or just indulging in a cozy night at home, having delicious, warm snacks on hand can elevate any occasion. One such delightful snack that has captured the hearts and taste buds of many is the Homemade Garlic Butter Cheese Bombs. This irresistible recipe is not only a crowd-pleaser but also a fantastic way to combine comfort food with gourmet flair.
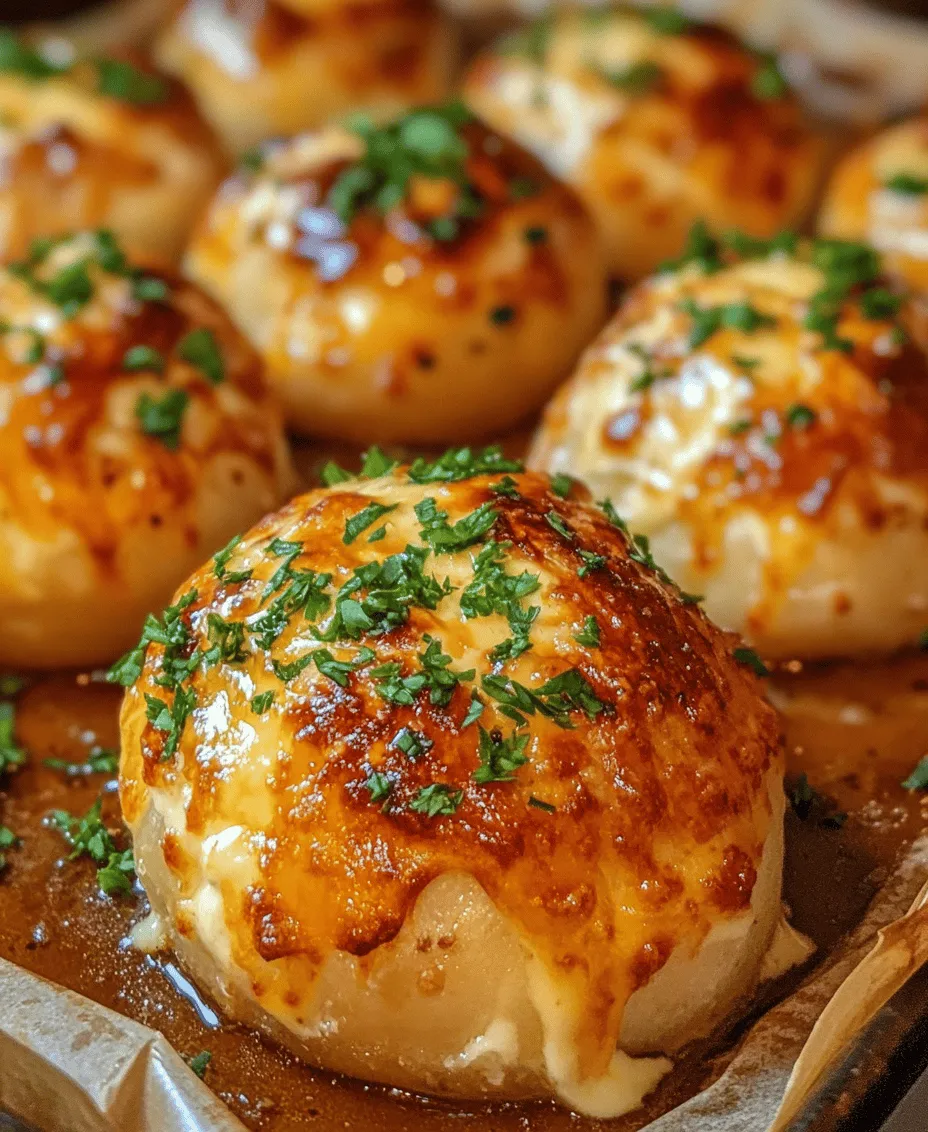
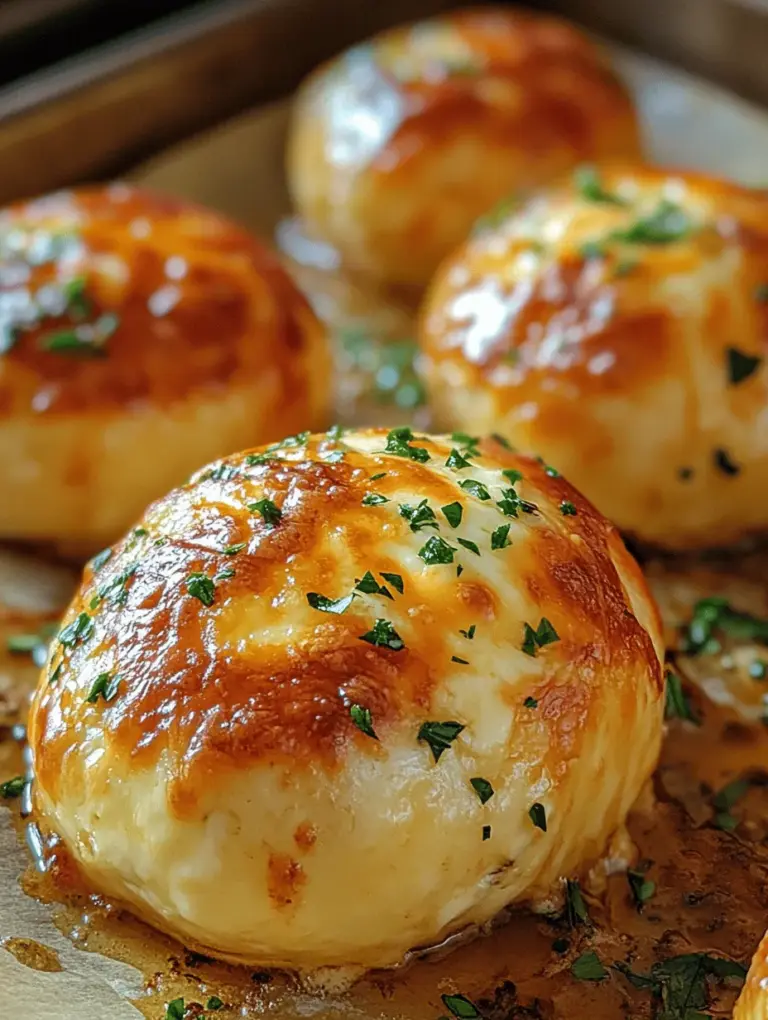
Garlic Butter Cheese Bombs are a popular choice for parties and casual get-togethers, thanks to their gooey, cheesy center and golden, buttery exterior. The balance of flavors and textures in this recipe is nothing short of magical. The creamy, melted cheese contrasts beautifully with the flaky biscuit dough, while the rich garlic butter and fresh herbs enhance every bite. It’s a dish that effortlessly brings people together, making it a must-try for anyone who loves to entertain or simply enjoys good food.
Understanding the Ingredients
To create these mouthwatering Garlic Butter Cheese Bombs, it’s essential to understand the key ingredients that contribute to their delightful taste and texture. Let’s dive into the components that make this recipe a standout.
Refrigerated Biscuit Dough
First and foremost, we have refrigerated biscuit dough, which forms the outer layer of our cheese bombs. This ingredient is loved for its convenience and versatility. Not only does it save time by eliminating the need for from-scratch dough, but it also provides a light, flaky texture that perfectly complements the rich, cheesy filling. You can find refrigerated biscuit dough in various flavors, but for this recipe, the classic buttermilk variety works best, offering a neutral base that allows the flavors of the filling to shine.
Cream Cheese
Next, we have cream cheese, a key player in the filling mixture. Cream cheese adds a luscious richness and creaminess that enhances the overall flavor profile of the cheese bombs. When paired with other cheeses, it helps to create a smooth and cohesive filling that melts beautifully in the oven. The mild flavor of cream cheese also acts as a wonderful canvas, allowing the other ingredients to stand out while still contributing its own delightful taste.
Mozzarella and Parmesan
For the ultimate cheesy experience, we can’t overlook the combination of mozzarella and Parmesan cheeses. These two cheeses work in harmony to deliver a perfect blend of flavor and melting properties. Mozzarella is known for its stretchiness and gooeyness, making it an essential ingredient for any cheesy dish. On the other hand, Parmesan adds a sharp, nutty flavor that elevates the overall taste of the cheese bombs. Together, they create a filling that is both satisfying and delicious, ensuring that each bite is packed with cheesy goodness.
Garlic
Garlic is the star ingredient that takes our Garlic Butter Cheese Bombs to the next level. Renowned for its bold flavor and aroma, garlic enhances the dish with a savory punch that pairs perfectly with the rich cheeses. Whether you choose to use fresh minced garlic or garlic powder, the result is a flavorful explosion that complements the buttery exterior and creamy filling. Garlic is not only a flavor enhancer; it also adds a touch of health benefits, making these cheese bombs not just tasty but also a little more wholesome.
Fresh Herbs
To brighten up the flavors and add a touch of freshness, we incorporate fresh herbs into the filling. Parsley and Italian seasoning are excellent choices for this recipe. Parsley adds a subtle earthiness and a pop of color, while Italian seasoning—often a blend of dried herbs like basil, oregano, and thyme—infuses the cheese bombs with a delightful Mediterranean flair. The inclusion of fresh herbs not only elevates the taste but also enhances the visual appeal, making these cheese bombs as pleasing to the eye as they are to the palate.
Step-by-Step Guide to Making Garlic Butter Cheese Bombs
Now that we’ve covered the essential ingredients, let’s get started on the process of making these Garlic Butter Cheese Bombs. Follow this step-by-step guide to ensure your cheese bombs come out perfectly every time.
Preparation: Prepping Your Kitchen and Ingredients
Before diving into the actual cooking process, it’s crucial to prepare your kitchen and gather all necessary ingredients. Start by preheating your oven to 375°F (190°C). This ensures that your cheese bombs will bake evenly and achieve that golden-brown perfection. While the oven is heating up, line a baking sheet with parchment paper or a silicone baking mat. This step not only makes for easy cleanup but also prevents the cheese bombs from sticking to the pan.
Next, gather the ingredients: refrigerated biscuit dough, cream cheese, mozzarella, Parmesan, garlic, parsley, and any additional seasonings you want to include. Having everything ready will make the preparation process smoother and more enjoyable.
Making the Cheese Filling
The heart of the Garlic Butter Cheese Bombs lies in the creamy cheese filling. To prepare the filling, start by taking a medium-sized mixing bowl. Add the softened cream cheese, shredded mozzarella, and grated Parmesan to the bowl. It’s important for the cream cheese to be softened to room temperature, as this will make it easier to mix with the other ingredients.
Using a fork or a spatula, combine the cheeses until they are well-blended and creamy. The mixture should be smooth and cohesive, allowing the flavors to meld together beautifully.
Seasoning the Mixture
Once the cheese filling is well mixed, it’s time to add the flavor boosters: minced garlic, fresh parsley, and any other desired spices. Start by adding 2-3 cloves of minced garlic, adjusting according to your preference for garlic intensity. Next, add about two tablespoons of freshly chopped parsley for a burst of freshness. If you’re using Italian seasoning, sprinkle in around one teaspoon to enhance the flavor profile further.
Mix the filling thoroughly until all the ingredients are well incorporated. The aroma of garlic and herbs will fill your kitchen, setting the stage for the deliciousness to come. Taste the mixture to ensure it’s seasoned to your liking, and feel free to adjust the seasoning as necessary.
Crafting the Bombs
Now comes the fun part—crafting the cheese bombs! Open the package of refrigerated biscuit dough and separate the biscuits. Depending on the brand you choose, you may have to break apart individual biscuits or peel them apart. Each biscuit will serve as the outer layer of your cheese bomb.
Take one biscuit and flatten it slightly in your palm. The goal is to create a small disc that can hold the cheese filling. Place about one tablespoon of the cheese mixture in the center of the flattened biscuit. Be careful not to overfill, as this can make sealing the bombs more difficult.
Next, gather the edges of the biscuit and pinch them together to seal the cheese filling inside. Make sure there are no gaps or openings, as this could cause the filling to leak out during baking. Once sealed, gently roll the bomb in your hands to form a smooth ball shape. Repeat this process for the remaining biscuits and filling.
Final Touches
Once you have crafted all the cheese bombs, place them on the prepared baking sheet, leaving some space between each bomb for even baking.
Now, it’s time to prepare the garlic butter glaze that will give these cheese bombs their irresistible flavor and golden finish. In a small bowl, melt some butter (about 1/4 cup) and add minced garlic and a sprinkle of Italian seasoning. Brush this garlicky butter mixture over the tops of each cheese bomb before they go into the oven. This step will ensure that every bite is bursting with flavor.
With everything prepared and the oven preheated, you are ready to bake your Garlic Butter Cheese Bombs.
Stay tuned for the next part of the article, where we’ll dive into the baking process, tips for achieving the best results, and answers to common questions about these cheesy delights!

Separating and Flattening the Biscuit Dough
To begin crafting your Homemade Garlic Butter Cheese Bombs, you’ll first need to prepare the biscuit dough. Start by carefully separating the biscuit dough into individual pieces, as per the package instructions. If you’re using refrigerated biscuit dough, it typically comes in a tube that you can easily pop open. Ensure you have a clean, flat surface for this process.
Next, take each biscuit piece and flatten it. You can do this with your hands or use a rolling pin to achieve an even thickness of about 1/4 inch. Flattening the dough helps in creating a pocket for the cheese filling and ensures that the cheese bombs cook evenly. If the dough is too sticky, sprinkle a little flour on your work surface to prevent sticking.
Filling and Sealing the Biscuits: Techniques for Best Results
Once you have your dough flattened, it’s time to fill each piece with cheese. Use a generous but manageable amount of cheese—about one tablespoon—placing it in the center of the flattened biscuit. Cheddar, mozzarella, or a blend of cheeses work beautifully for this recipe, adding that gooey, melty texture we all crave.
After adding the cheese, carefully fold the edges of the biscuit over the filling. Pinch the seams together tightly to seal in the cheese. This step is crucial; if the seams are not sealed properly, the cheese may leak out during baking. To ensure a tight seal, you can stretch the dough gently as you pinch it closed. For added security, you can roll the filled biscuit into a ball, ensuring that the cheese is encased completely.
Shaping the Bombs for Even Cooking
Now that your cheese is securely encased, it’s essential to shape your cheese bombs for optimal baking. Roll each filled biscuit gently in your hands to form a perfect ball. This helps create a smooth exterior, which not only looks appealing but also aids in even cooking.
While shaping, be careful not to apply too much pressure, as you want to keep the air pockets inside that help the cheese to melt beautifully. Place the shaped cheese bombs on a baking sheet lined with parchment paper, leaving enough space between each one to allow for expansion as they bake.
Garlic Butter Brushing
The finishing touch before baking your cheese bombs is to brush them with garlic butter. To prepare the garlic butter, melt half a cup of unsalted butter in a small saucepan over low heat. Once melted, add finely minced garlic—about three cloves—and allow it to infuse for a few minutes. You can adjust the garlic quantity based on your preference for garlic flavor.
Using a pastry brush, generously coat each cheese bomb with the garlic butter mixture. This step not only enhances the flavor profile but also helps achieve a beautiful golden-brown color during baking. Ensure each bomb is thoroughly coated for the best taste.
The Role of Garlic Butter in Enhancing the Final Flavor Profile
Garlic butter plays a pivotal role in elevating the flavor of your cheese bombs. The combination of melted butter and garlic creates a savory, aromatic glaze that seeps into the biscuit dough while baking. This infusion of flavor complements the richness of the cheese and adds a delightful contrast to the dough.
Moreover, the garlic butter keeps the exterior of the cheese bombs moist while creating a crispy, golden crust. This texture contrast between the crispy outside and the gooey cheese inside is what makes these bites so irresistible.
Techniques for Even Application on Each Cheese Bomb
For an even application of garlic butter, try to dip your brush into the garlic butter and let excess drip off before applying it to the cheese bombs. This method prevents pooling of the butter, which can lead to uneven cooking. If you desire an extra boost of flavor, sprinkle a pinch of garlic powder and dried herbs, such as parsley or oregano, over the garlic butter before baking.
Baking Process
Now that your cheese bombs are filled, shaped, and brushed with garlic butter, it’s time for the baking process. Preheat your oven to 375°F (190°C), ensuring it reaches the right temperature before you place the cheese bombs inside. Baking at this temperature allows for even cooking and helps achieve that coveted golden-brown finish.
Place the baking sheet in the middle of the oven and bake for approximately 15-20 minutes. Keep an eye on them toward the end of the baking time; they should be puffed up and golden brown. For the best results, rotate the baking sheet halfway through to ensure even cooking. Once done, remove them from the oven and let them cool for a few minutes before serving.
Serving Suggestions
Your Homemade Garlic Butter Cheese Bombs are now ready to be enjoyed! Here are some serving suggestions to elevate your dish:
– Recommended Sauces and Dips: Pair your cheese bombs with a variety of dipping sauces. Marinara sauce, ranch dressing, or a spicy sriracha mayo can complement the flavors beautifully. Consider serving a garlic aioli for an extravagant touch.
– Creative Serving Ideas for Parties and Gatherings: These cheese bombs make excellent appetizers for parties. Arrange them on a large platter with your sauces in the center for guests to dip. You can also sprinkle fresh herbs, like chopped parsley or chives, over the top for a pop of color and freshness.
– Storage Tips and Reheating Instructions for Leftovers: If you have leftover cheese bombs, store them in an airtight container in the refrigerator for up to three days. To reheat, place them in an oven preheated to 350°F (175°C) for about 10 minutes or until warmed through. This method helps maintain the crispy exterior while melting the cheese inside.
Nutritional Information
As with any recipe, it’s essential to be mindful of nutritional content. Here’s a brief overview of the nutritional information for each cheese bomb (based on a standard recipe):
– Calories: Approximately 150-200 calories per cheese bomb
– Fats: 10-12 grams, depending on the cheese and butter used
– Carbohydrates: 15-20 grams
– Protein: 4-6 grams
Consider portion sizes and adjust the recipe according to your dietary preferences. You can make these cheese bombs healthier by using reduced-fat cheese or whole wheat biscuit dough. Additionally, try adding chopped vegetables, such as spinach or peppers, for a nutritious twist.
Conclusion
Homemade Garlic Butter Cheese Bombs are a delightful addition to any meal or gathering, sure to impress family and friends alike. With their crispy exterior, gooey cheese center, and rich garlic flavor, these treats are perfect for snacking or as a side dish.
I encourage you to try this recipe, experience the joy of homemade cooking, and enjoy the delicious results. There’s something immensely satisfying about creating a dish from scratch, and with these cheese bombs, you’ll be treated to a mouthwatering experience that’s both fun to make and even better to eat. Embrace the art of cooking and enjoy sharing these flavorful bites with your loved ones!

