Introduction
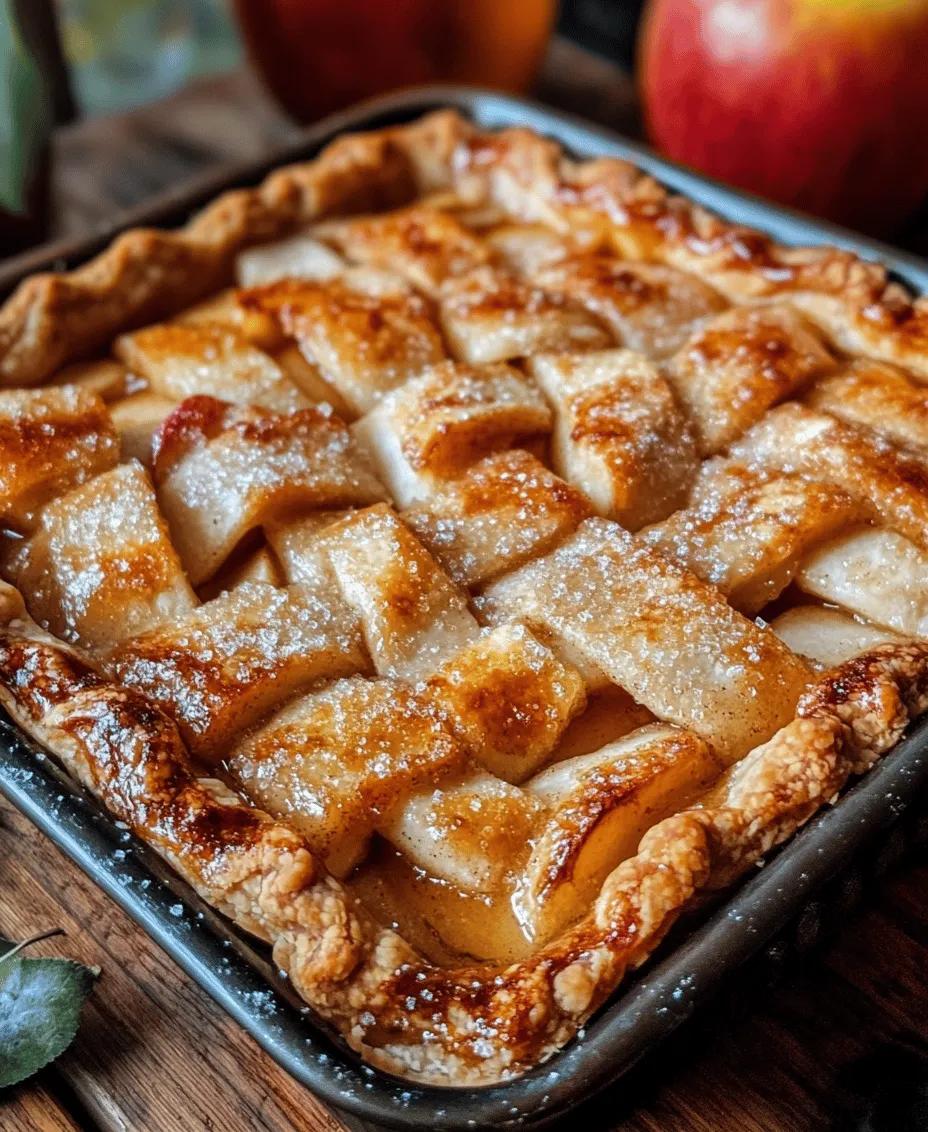
When the leaves start to turn and the air becomes crisp, there’s nothing quite like indulging in a comforting dessert that embodies the essence of fall. Enter the apple slab pie—a delightful twist on the classic apple pie, featuring a generous filling of sweet and tart apples encased in a flaky, buttery crust. This dessert is not only a feast for the taste buds but also a visual delight, making it the perfect centerpiece for gatherings, holiday celebrations, or a cozy family dinner.
The beauty of apple slab pie lies in its versatility. Unlike traditional round pies, a slab pie is baked in a large rectangular dish, allowing for more servings and making it ideal for feeding a crowd. Whether you’re hosting a harvest gathering or simply looking to treat your loved ones to a slice of homemade goodness, this recipe promises to bring warmth and joy to your table. Imagine the aroma of baked apples mingling with hints of cinnamon wafting through your kitchen, creating an inviting atmosphere that draws everyone in.
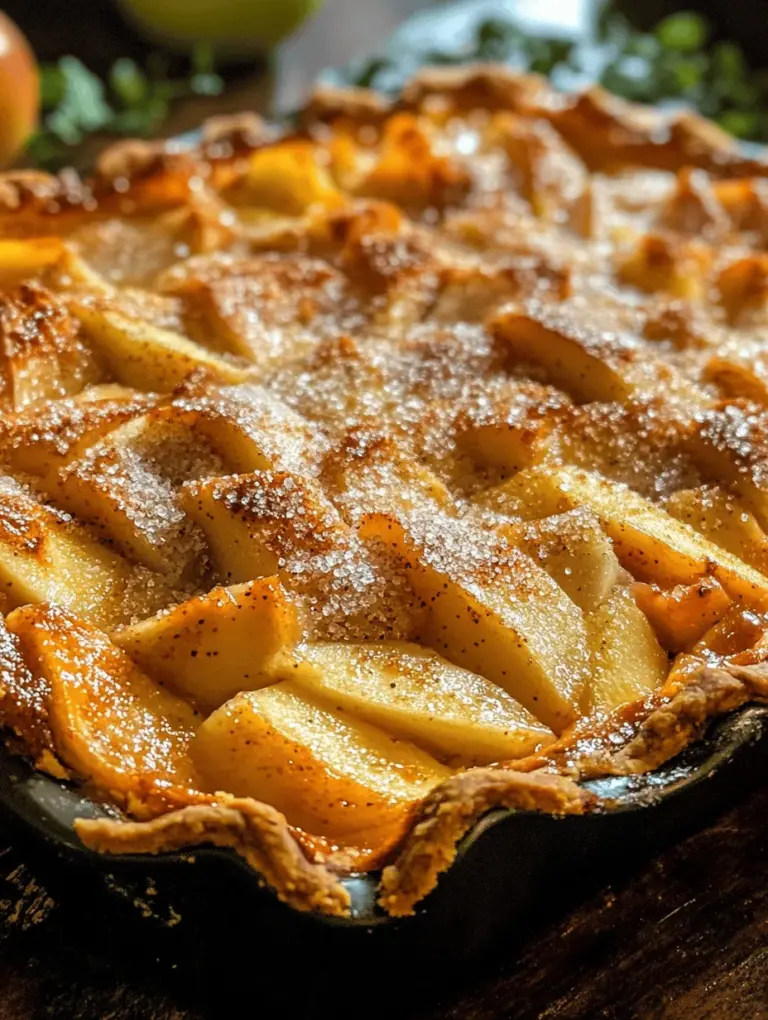
This apple slab pie recipe showcases the star ingredient: Granny Smith apples. Renowned for their crisp texture and tart flavor, these apples hold up beautifully when baked, providing a delicious contrast to the sweetness of the sugar and the warmth of the spices. Each bite delivers a satisfying crunch followed by a burst of juicy apple filling, all enveloped in a golden-brown crust that’s both tender and flaky.
Understanding the Ingredients
To achieve a truly delectable apple slab pie, it is essential to understand the role of each ingredient in the recipe. Here’s a breakdown of the key components that contribute to its fantastic flavor and texture.
Granny Smith Apples
The choice of apples is crucial for the success of this dessert. Granny Smith apples are the preferred variety in this recipe due to their tartness and firmness. Their bright green skin and crisp flesh provide the perfect balance of flavor when combined with sugar and spices. They hold their shape well during baking, ensuring that the filling remains chunky and satisfying rather than turning mushy. While other apple varieties can be used, Granny Smith apples help create that quintessential apple pie flavor that we all adore.
Granulated Sugar
Sugar is not just a sweetener; it plays a vital role in balancing the flavors of the pie. In this recipe, granulated sugar enhances the natural sweetness of the apples while counteracting their tartness. It also helps to create a syrupy filling as the apples release their juices during cooking, which is essential for achieving that perfect pie consistency. Adjusting the amount of sugar can personalize the sweetness level, allowing you to cater to your family’s preferences.
Lemon Juice
A splash of lemon juice is key in elevating the flavor profile of the apple filling. The acidity from the lemon juice not only brightens the overall taste but also helps to prevent the apples from browning too quickly. Lemon juice harmonizes beautifully with the spices and sugar, creating a well-rounded flavor that enhances the tartness of the Granny Smith apples.
Spices: Cinnamon and Nutmeg
No apple pie is complete without the warm spices that evoke feelings of nostalgia and comfort. Ground cinnamon is a classic addition that brings warmth and a touch of sweetness, while nutmeg adds a subtle depth of flavor with its earthy notes. Together, these spices create an aromatic filling that perfectly complements the apples, making each bite feel like a warm hug. The right balance of spices can make your apple slab pie stand out, so feel free to experiment with the quantities to suit your taste.
Flour
Flour serves two essential functions in this recipe. First, it acts as a thickening agent for the apple filling, helping to absorb excess moisture released during baking. This ensures that the filling is not overly runny, allowing for clean slices when serving. Second, flour is a key ingredient in the pie crust, providing structure and stability. A good ratio of flour to fat (butter) is crucial for achieving that tender, flaky texture that we associate with a perfect pie crust.
Egg Wash and Coarse Sugar
To achieve a beautiful golden crust, an egg wash is brushed over the top of the pie before baking. This simple mixture of beaten egg and water not only gives the pie an appealing sheen but also helps to create a protective barrier that prevents the crust from becoming soggy. Additionally, sprinkling coarse sugar on top of the egg wash adds a delightful crunch and a hint of sweetness, elevating the appearance and texture of the finished pie.
Step-by-Step Instructions for Making Apple Slab Pie
Preheating the Oven
Before diving into the preparation of your apple slab pie, it’s essential to preheat your oven to 425°F (220°C). Proper oven temperature is crucial for even cooking and achieving that beautifully browned crust. An adequately preheated oven ensures that the pie will bake evenly, allowing the apples to cook through while the crust develops a crisp texture.
Preparing the Apple Filling
The first step in preparing the apple filling is to wash and slice your Granny Smith apples. Begin by peeling the apples, removing the core, and slicing them into thin, even pieces—about 1/4 inch thick works best. This thickness allows the apples to cook evenly while still retaining a bit of their firmness.
Once your apples are sliced, place them in a large mixing bowl. Add the granulated sugar, lemon juice, ground cinnamon, and nutmeg to the bowl, gently tossing the ingredients together until the apples are evenly coated. This step is essential for ensuring that every slice of apple is infused with flavor.
After mixing, let the apple mixture sit for about 15 minutes. This resting period allows the apples to release some of their juices, which will help develop a flavorful syrup. This syrup is vital for achieving the desired consistency in your pie filling, preventing it from becoming too dry during baking.
Crafting the Slab Pie Base
While the apple filling is resting, it’s time to prepare the pie crust. For this recipe, you will need to make a double batch of pie crust, which is enough for both the bottom and the top of the slab pie. If you prefer to save time, you can use store-bought pie crusts; however, homemade crusts often yield the best flavor and texture.
To make the crust, combine flour with cold, cubed butter in a mixing bowl. Using a pastry cutter or your fingers, work the butter into the flour until the mixture resembles coarse crumbs. Add a pinch of salt and a few tablespoons of ice water, mixing until the dough comes together. Be careful not to over-knead; you want the dough to remain tender and flaky.
Once your dough is ready, divide it into two equal portions and wrap each piece in plastic wrap. Chill the dough in the refrigerator for at least 30 minutes to allow it to rest and firm up, making it easier to roll out.
After chilling, remove one portion of the dough from the refrigerator and place it on a lightly floured surface. Roll the dough out into a rectangle large enough to fit into your baking sheet (typically 13×18 inches). Carefully transfer the rolled-out dough to the baking sheet, gently pressing it into the corners and sides. If there are any excess edges hanging over, trim them with a sharp knife to ensure a clean edge.
Filling the Pie
Now that your pie crust is in place, it’s time to fill it with the delicious apple mixture. Pour the prepared apple filling into the crust, spreading it out evenly to ensure that every bite is packed with flavor. If desired, you can sprinkle a bit more cinnamon or sugar on top of the apple filling for added flavor.
After filling the pie, roll out the second portion of dough to create the top crust. You can either place it directly on top or cut it into strips to create a lattice design. If you choose to go with a solid top crust, be sure to cut a few slits in the surface to allow steam to escape during baking. This step is crucial for preventing the filling from bubbling over and creating a mess in your oven.
Once the top crust is in place, brush the surface with the egg wash and sprinkle coarse sugar on top to give it that appealing finish.
With your apple slab pie assembled, it’s time to bake it to golden perfection.
Stay tuned for the next part of this delicious journey, where we will cover the baking process and tips for serving this comforting dessert that is sure to impress your family and friends.

Best Practices for Spreading the Apple Mixture Evenly and Dotting with Butter for Richness
Achieving the perfect apple filling is essential to creating a delicious apple slab pie. Start by transferring your prepared apple mixture into the pre-baked crust. The key is to distribute the apples evenly across the crust, ensuring that every slice of your pie contains a balanced amount of filling. Use a spatula or the back of a spoon to gently spread the apples, allowing the juices to settle without overflowing.
Once the apple mixture is spread out evenly, take small pieces of butter and dot them over the top of the filling. This step adds richness and depth of flavor to your pie, as the butter melts into the apples during baking, enriching every bite. Aim for about one tablespoon of butter, cut into small pieces and distributed evenly across the apple mixture.
Adding the Top Crust
The top crust of your apple slab pie is not only functional but also enhances the pie’s aesthetic appeal. For the top crust, you can either use a pre-made pie crust or make your own using the same dough recipe as for the bottom crust.
Instructions on Rolling, Placing, and Sealing the Top Crust Effectively
1. Rolling the Dough: On a lightly floured surface, roll out your dough to about 1/8-inch thick, ensuring it is large enough to cover your slab pie pan. Remember, the dough should be at least an inch larger than the dimensions of your pan to allow for proper sealing.
2. Placing the Crust: Gently lift the rolled dough using a rolling pin, and then unroll it over the apple filling. Center it as best as you can, and allow the edges to hang over the sides of the pan.
3. Sealing the Edges: Once the top crust is in place, carefully press the edges down to make contact with the bottom crust. You can crimp the edges with your fingers or use a fork to create a decorative border. This not only seals the pie but also enhances the presentation.
Importance of Cutting Vents for Steam Release
Before baking, it’s crucial to cut vents in the top crust. Using a sharp knife, make several slits in a decorative pattern—this allows steam to escape during baking, preventing the filling from bubbling over and ensuring your crust remains crisp. Traditional patterns include a series of parallel lines or a lattice design, which not only serves a practical purpose but also adds to the visual charm of your pie.
Applying the Egg Wash
An egg wash is a simple mixture of egg and water or milk brushed over the surface of the crust before baking. This step is essential for achieving that beautiful golden-brown finish that makes your pie visually appealing.
Why Egg Wash is Crucial for a Golden Finish and Aesthetic Appeal
The egg wash not only enhances the color but also gives the crust a glossy sheen, elevating the overall presentation of your slab pie. To prepare the egg wash, beat one egg with a tablespoon of water or milk, and then use a pastry brush to apply it evenly across the surface of the crust. Be careful not to let it drip onto the sides of the pan, as this can cause uneven baking.
Baking the Pie
Once your pie is assembled, it’s time to bake! Preheat your oven to 425°F (220°C) and place the pie in the center of the oven.
Baking Time and Signs That Indicate the Pie is Ready
Bake the apple slab pie for about 30 to 40 minutes, or until the crust is golden brown and the filling is bubbling. Keep an eye on the pie during the last 10 minutes of baking. If the edges of the crust begin to brown too quickly, you can cover them with strips of aluminum foil to prevent burning.
To confirm your pie is ready, look for the following signs:
– A golden-brown crust.
– Bubbling filling visible through the vents.
– A delicious aroma wafting through your kitchen.
Importance of Letting it Cool for Proper Slicing
Once your pie is out of the oven, resist the temptation to dig in right away. Letting your pie cool for at least 30 minutes allows the filling to set, making it easier to slice and serve. If you cut into it too soon, the juices may run, leaving you with a messy presentation.
Serving Suggestions
Your delicious apple slab pie is now ready to be enjoyed! Here are some ideas for serving it:
1. Traditional Accompaniments: Serve warm slices of apple slab pie with a generous scoop of vanilla ice cream or a dollop of freshly whipped cream. The creamy textures perfectly complement the warm, spiced apples.
2. Presentation Ideas: For a beautiful presentation, consider serving the pie on a rustic wooden board, garnished with fresh apple slices or a sprinkle of cinnamon. You can also dust powdered sugar over the top for an elegant touch. If you’re hosting a gathering, consider cutting the pie into smaller squares for easy serving.
Storage and Reheating Tips
To keep your leftover apple slab pie fresh, follow these storage tips:
1. Best Practices for Storing Leftover Pie: Allow the pie to cool completely before covering it with plastic wrap or aluminum foil. Store it in the refrigerator for up to 3-4 days. For longer storage, consider freezing the pie. Wrap it tightly in plastic wrap and then in foil, which can preserve its freshness for up to 3 months.
2. Instructions for Reheating to Restore the Crispness of the Crust: To reheat your pie, preheat your oven to 350°F (175°C). Place the pie on a baking sheet and cover it loosely with foil to prevent over-browning. Bake for about 15-20 minutes, or until warmed through. If you want to restore the crispness of the crust, remove the foil for the last 5 minutes of heating.
The Joy of Homemade Desserts
Baking desserts at home is more than just a culinary activity; it’s an emotional experience that brings people together. The process of making an apple slab pie can evoke memories of family gatherings, where the aroma of baked apples fills the kitchen, and laughter resonates throughout the home.
Many families have their own cherished traditions surrounding apple desserts. For some, it’s a cherished recipe passed down through generations, while for others, it’s a chance to experiment with seasonal ingredients. Regardless of the background, the joy of sharing homemade desserts creates lasting connections and memories.
Conclusion
The apple slab pie is a perfect blend of simplicity and deliciousness. Its warm, spiced filling, combined with a flaky crust, makes it an inviting dessert for any occasion. Whether you’re celebrating a holiday, hosting a gathering, or simply enjoying a quiet evening at home, this recipe is a delightful addition to your culinary repertoire.
Baking this pie not only allows you to create something delicious but also offers a chance to connect with loved ones, share stories, and create lasting memories. So gather your ingredients, roll up your sleeves, and try your hand at this delightful apple slab pie recipe. Enjoy the process, relish the flavors, and most importantly, share the joy of home baking with those you love!

